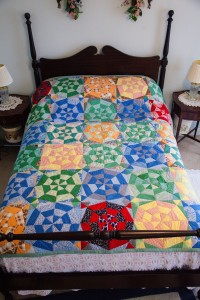
Edie had an old quilt top she wanted finished as a gift for her elderly mother. Normally I do not like doing this, but our children are friends and when I saw the quilt top I was intrigued with the complexity of the pattern and the quality of some of the hand stitching. It looked like two different quilters had pieced by hand and one by machine. The fabric appears to be from the 1930’s, but is not in bad shape other than some stains and some stretched bias edges. That’s really hard to avoid when working with triangles. I know that the value of antique tops can be destroyed by an amateur finisher, but the value of this top is sentimental. Edie assured me the family would enjoy a finished quilt more than an old stained top.
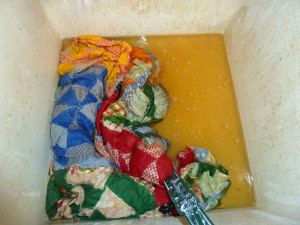
First step was to gently hand wash it. I couldn’t get all the stains out but, as you can tell, a lot did come out.
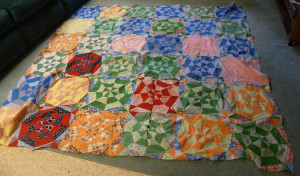
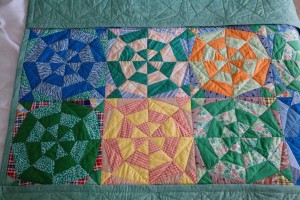
The next step was to spread the quilt out and and see what it was going to take to “square it up” so it would lie flat. In this picture many of the squares have pins to account for variations in the sizes of the blocks.
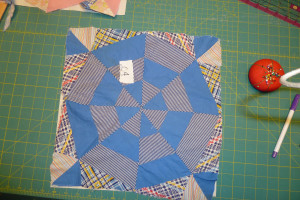
After much pinning and measuring, I arrived at the conclusion that to make the quilt flat, I needed to take the blocks apart, baste each of the 36 blocks to a muslin foundation square and make them all the same size. The sides of the blocks varied from under 13 inches to over 14 inches.
Edie agreed we could cut it down from 36 blocks to 30. That way we could omit the 3 most badly stained blocks and EITHER the 3 pink blocks or the 3 red ones. When Edie said her mother did not care for pink, that dictated the choice.
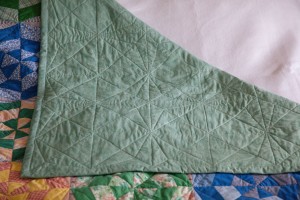
The quilt has so many colors that I chose a quiet grey-green for a wide mitered binding and back.
